Tuesday, July 19, 2011

18th Finish

One of the things I've tried to do this year is make more of the gifts I give to people. So far I've been pretty good at it. I still end up buying birthday presents for kids but maybe next year I'll have it a little more together, I make no promises. So when my cousin Brooke got married this past weekend I opted to make a sign they could hang at the wedding & then later in their home. I still have a ton of canvases left to paint on so I decided to use one instead of spending money on something else to paint. I thought it would be fun to paint them as a little bird couple since the wedding theme was lovebirds. I asked Brooke what her colors were going to be for her home & she said earth tones. 

Here's what I came up with. I tried to keep it as neutral as possible but added the pop of red. Brooke's wedding colors were red, black, & white. I figured if she liked them enough to use at her wedding she will most likely use them in her home also. I know there is a lot of blank space around the sign. That's because I plan on painting little birdie children as they come along. Had to leave room for those little ones ;)

I used acrylic paints for the sign. Then I glued scrapbook paper to the sides. I had a heck of a time with the back. Nothing I had was big enough to cover it. I ended up ripping up some brown paper grocery sacks and glued those to the back. It ended up woking out perfectly.

18 down, 34 to go

Monday, July 18, 2011

17th Finish

My sweet cousin Brooke got married this weekend. It was a beautiful & perfect day. I even had the honor of being their photographer for the day. I'll be posting photos very soon. Brooke's theme for her reception was lovebirds. Here colors were black& white & red. She had seen pictures of a beautiful reception where there were small cards with birdcages & facts about lovebirds. She asked me if I would be willing to make some for her.

My aunt Colleen (Brook's mom) sent me the 10 facts she wanted on cards & this is what I came up with. Here you can see what the front & the back of the cards looked like. My hope is that she can also use them on her Christmas tree for years to come. I used a thick stock watercolor paper for the front & glued a pretty scrapbook paper to the back. I started by doing a light acrylic wash to give them a vintage look. Then I sketched out all of the birdcages & lettering. Next I painted all the birdcages & hand painted the lettering also. I added red hearts to all the i's :) The perfect touch of red. I finished them off by adding a champaign colored ribbon so they could be tied to the tree.


Here they are hanging on the lovebird tree. I hope she enjoys them. They were so very fun to make. I even had someone request to make some paper ornaments for the upcoming holiday. If I can get my act together I might even add some of them to the shop.

17 down, 35 to go

Friday, July 15, 2011

Destruction Part Deux

Time for the last wall to come down.  

This time Dean did all the work himself. Construction is what he does for a living. He was sweet enough to let us all help the other night but it took twice as long & was 10 times as messy. He's such a sweetie to let us have a go at it though ;)

This wall came down in a little less than 30 minutes.

Dean was saying, "See how it's done babe" :) 


He sawzalled the other side of the wall. 

The girls peeking through before the wall came totally down. 


Here it is completely open! Dean hammered the nails so they wouldn't be hanging down. This whole remodel process will happen in a few steps.  

The wall where my art stuff is will have a built in book shelf that will go all the way to the wall. It will close off the other useless entrance to the kitchen & allow more wall space in the kitchen. I'm so excited to have a giant bookshelf in our home. I have most of my books in storage & the girls shelves are overflowing. It will be so lovely to have them easy to access & enjoy.

The first step is to pull up the Pergo flooring & raise the dining room floor up to the rest of the house. This is the same said floor I fell & broke my hand on last year. I can't even count how many people have tripped or fallen when walking into our sunken dining room or up to the kitchen. It's so dangerous & I know it will be nice to have it gone. Then we will be adding a nice archway to add a small amount of separation to the rest of the living space. The entry to the spare bedroom will go on the other side of the piano. Yep, we are adding another room on :) No we are not expecting another baby, lol!

Eventually the whole kitchen ceiling will be raised to match the rest of the house & slate floors will be put in the kitchen & dining room. 

All the ceilings will be scraped & can lights added. Someday down the road we will replace that corner fireplace with a wood burning stove. Eventually we will get new lighting fixtures for the dining room & kitchen but those are later on down the road. The biggest thing is getting that new room built. It already feels so open & lighter in our home. I'm really looking forward to all of these changes. I'll share photos as we go.

Tuesday, July 12, 2011

& The Walls Came Tumbling, Tumbling

It's time to open up the house.


Sloan's turn 


Worker girl Zoe 

Zoe's turn 


Aris' turn


Brennan's turn 


Dean's turn 


We made it a family affair. 


Even Omri joined in the fun with the hammer Bumma gave him. 

Daddy showing Zoe how to pull down the wall with a hammer like he does at work. 

Taking down the other side. 

 Already looking more open & today it was so much brighter in the dining room.

This wall is coming down next. Pictures coming soon.

14th-16th Finishes

14th

Another batch of burp cloths. Almost 30 to be exact. So I think it's only fair to count as a finish even though it's not my first time making them.


 ::Before::

::After::
15th

I saw this tutorial a while back. Thank goodness because I just adore those cute footed Carter character jammies. These were Zoe's & I knew if I fixed them Aris would be able to wear them eventually (if she ever grows;). It was such an easy fix & I kicked myself for not mending them sooner. Aris wanted to wear them now but I told her she will have to wait a year or two. I had a whole pile of mending to do. It had seriously been haunting me for months. Actually there were a few items that had been in that pile for over 3 years. How sad is that?!? So I sat down one night & fixed all but the things that needed buttons. I'll be heading to the store next week to match up & fix the last few items. It felt so good to accomplish this. I fixed over 20 items of clothing!

::Before:: 

::After::
16th

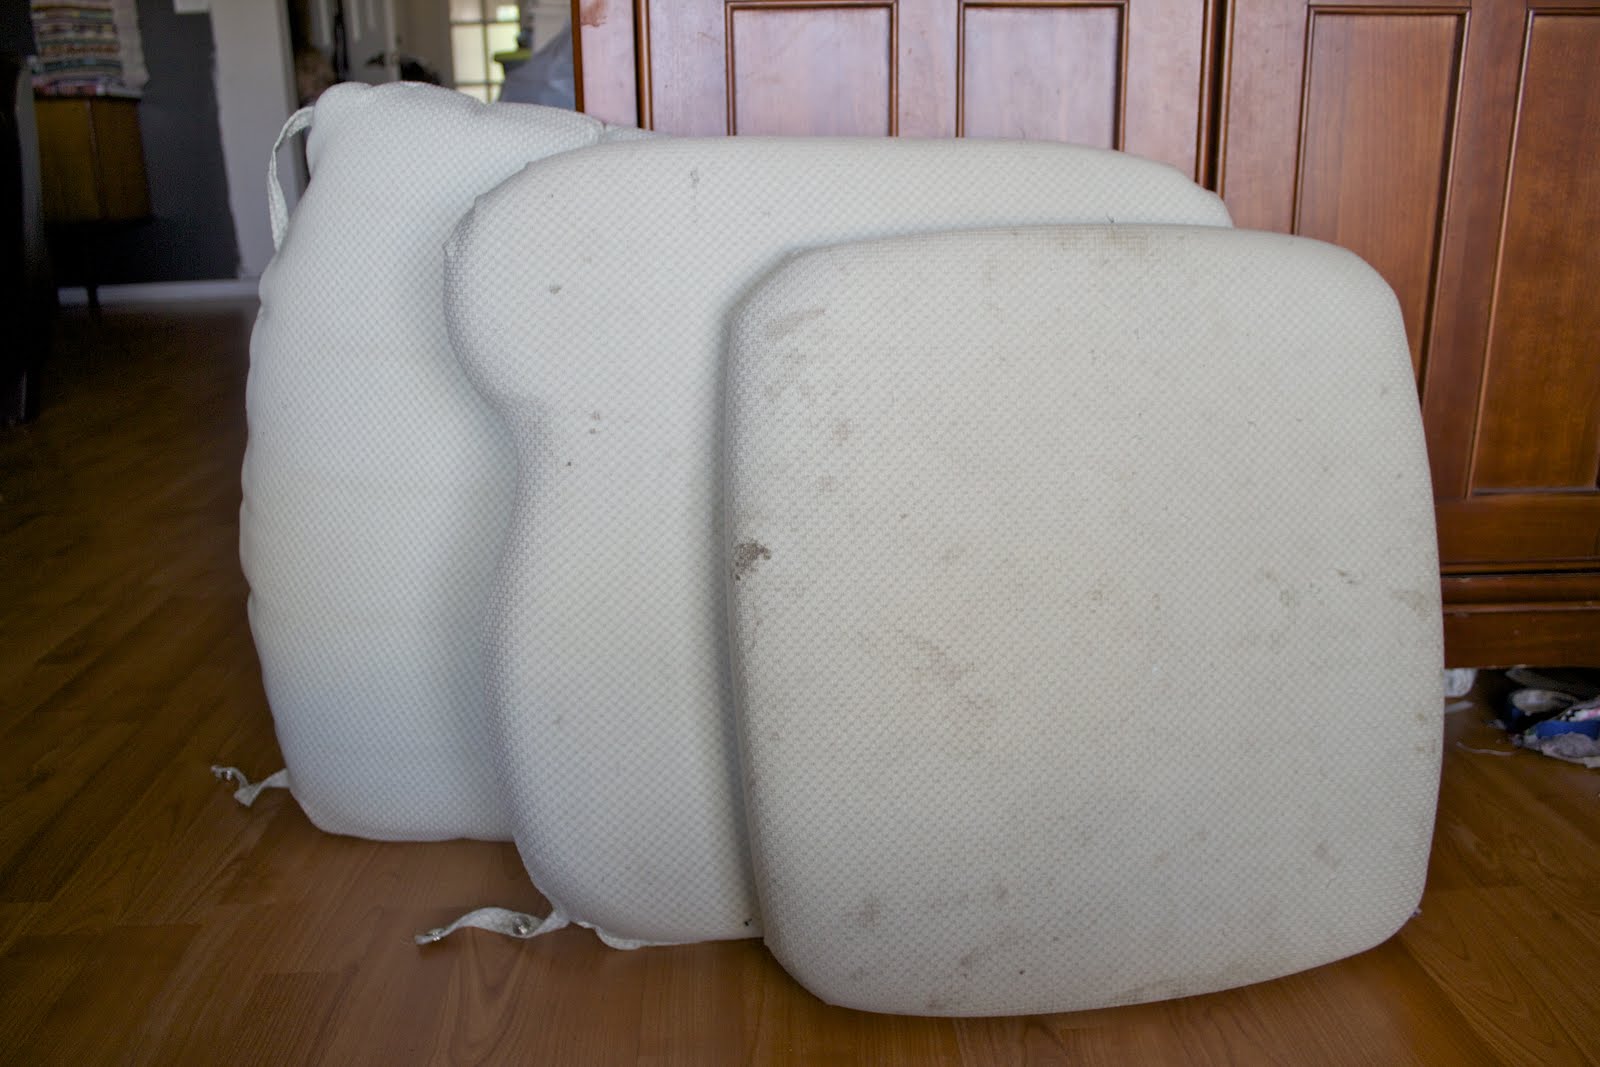
This rocker recover project was so much fun to do. This is for a dear friend of mine whom is expecting her 4th baby boy. the funnest part was going to the discount designer fabric store. All of their upholstery fabric is $12 or less! We spent a good hour looking around until we found something she loved that would not only work in the baby's room but also her living room afterward. She was super happy with the outcome & I enjoyed the challenge. The bottom cushion had to be taken apart to make sure the new cover fit properly. The pleats were a little tricky too. I had to rip it out once to make sure I matched it up properly. I'm so excited to have two chair recovers under my belt. It has given me the confidence to work on other furniture recover projects.

I should show you my list of things to do over the next few days, it kinda makes me week in the knees but I'm so excited to be making some really cute art for my cousins wedding. I'll also be taking pictures of the big day & her reception. So excited! Promise to share them all early next week.