I thought it would be fun to share a little tutorial on how I make my stitched illustrations. I shared a tutorial a couple years back & I tried to find it but I couldn't. So here goes. First I select the papers to use & I map out the illustration.
Of course every illustration starts out as a sketch.
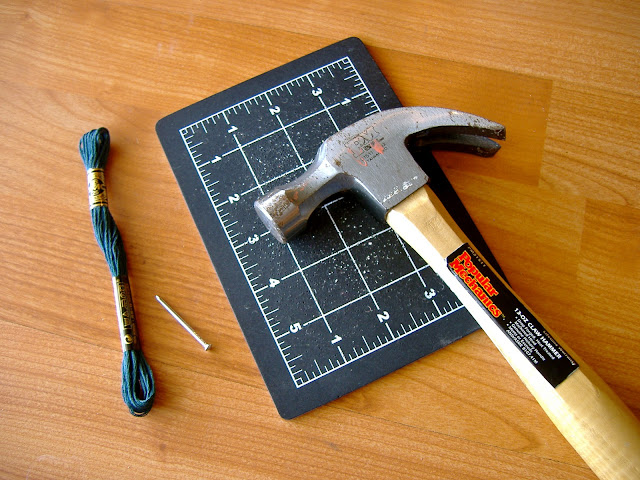
The tools you will need for this project are a hammer,scissors, double sided tape, pencil, cutting mat, nail, needle, & embroidery thread.
Next I sketch out the saying. In this case it's "Happy Anniversary". Sometimes this step takes me a little while to get the lettering just right. I don't use templates & always freehand but you could print out some lovely fonts from online & trace them using tracing paper.
For the next step I add a tiny amount of double back tape to the piece of paper. Then I lay the lettering down in the correct spot. When everything is in place I take my nail and tap my hammer to create holes along the letters. Take your time with this step. Allow similar spacing of holes for a more cohesive look when it comes to the stitching part of your illustration.
I had already started to stitch this one but I thought I'd show you what the back will look like. Sometimes I get lost when stitching my letters. When this happens I look at my sketch & can always figure out where I am.
The front will look like this. I'll share the finished card with you tomorrow. Update:: Just added the finished picture so you can see the whole process. I really wanted to finish this up last night but Aris woke up from her nap with a high fever. No biggie until she threw up. Ugh. Poor little thing wanted to be held all.......night.......long.........
until the Tylenol set in and then she was running around on a medicine high. Thankfully she only threw up once & so far everyone else seems to be staying healthy. She's still running a fever but no barf today. Should I knock on wood here?
Check back here tomorrow for the finished illustration. You can download my past love card illustrations for free
::here::
and give one to your sweetie.


2 comments:
How fun! This is great - thanks!
I love the letters sewn onto the card. It's great. Thanks for sharing the tutorial.
Ruth
Post a Comment